Phonto Tutorial #3- Making a Graphic
Hi friends!
So...we have made our templates. We have downloaded our fonts...NOW WHAT??
Now comes the fun part! You get to add doodles. You get to be funny. You get to be inspirational. You get to do whatever you want!
So, I usually get asked how I make my quotes and where I come up with the quotes.
My answer is: I am inspired by everyone every where. If I see something I like, I save it.
If I hear something I like, I save it. (Notes and screenshots for the win!)
IMPORTANT: If you know where the quote came from or who said it, give them credit :)
You can add their name to the post or in the comments, just make sure people know that you are quoting someone. It's the nice thing to do :)
Believe me, you can't do this every time because sometimes you see something on FB or Pinterest and you literally have NO IDEA where it started. Just do the best you can. It's really all we can do :)
Ok...So here is how I make my quotes. Here we go!

1. Open up Phonto and click the camera at the bottom. Select Plain Image, go to My Templates, and choose one of your templates (or any template there if you haven't made one yet.) If you still need to make your own template, check this post out.

2. Click the box with the arrow at the top right hand side and hit use.
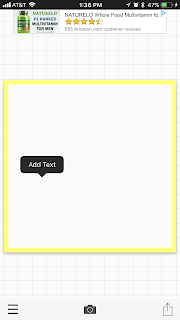
3. Click anywhere on the image to add text.

4. Now you can write whatever you'd like. To change the font, hit the font button. (If you need to learn how to add fonts, check this post out.) Click align to change it to center, left or right.Click done to add the text to the template. I usually do not write it all at once. I just keep clicking the image to add text if I have multiple lines of text. It's easier for me, but do what works for you! :)
6. Keep adding text and changing the font until you've added everything you'd like.

7. To change the size, click the text on the image. A menu will come up. There, you can change the size (you can't just pinch to change it, you need to use the dial on the size menu.) You can tilt the text in the tilt menu.

8. In the style menu, at the top it will say COLOR. This is where you can you can create a color pattern (on the bottom), change the stroke (thickness of the outline/color of the outline). I usually change the stroke on my script font to make it a little thicker and more bold. You can add a background color to the font if you'd like under Background. At the top, click STYLE. There you can add a shadow, change the spacing of the lines or letters, or add underlines. Click done after you've played around with it to find what you like best.

9. Now, if you have a watermark or logo saved in your photos that you'd like to add, click the 3 lines in the bottom left hand side. Click add image. Find your image and size it how you'd like it (by clicking it and going to the size menu).

10. Now if you have everything how you'd like it, you can click the square with the arrow at the bottom right hand side and I always save it as a PNG. It will save to your camera roll. Now you can share it!! Yay!
I know. That's a lot. It goes much faster as you play around with Phonto and see what works for you. It will take me about 20 seconds to create my graphics now. I love using Phonto because you can create it exactly as you'd like it. I used to use Word Swag, and that one is awesome too. I just like how you can customize it with your fonts and style in Phonto.
I'd love to know if you have used this to help you with your graphics! If you do, feel free to tag me @learningandlovingit on Instagram of Facebook! I'd love to see your creations!
Please let me know if you have questions! Have a fab day!

So...we have made our templates. We have downloaded our fonts...NOW WHAT??
Now comes the fun part! You get to add doodles. You get to be funny. You get to be inspirational. You get to do whatever you want!
So, I usually get asked how I make my quotes and where I come up with the quotes.
My answer is: I am inspired by everyone every where. If I see something I like, I save it.
If I hear something I like, I save it. (Notes and screenshots for the win!)
IMPORTANT: If you know where the quote came from or who said it, give them credit :)
You can add their name to the post or in the comments, just make sure people know that you are quoting someone. It's the nice thing to do :)
Believe me, you can't do this every time because sometimes you see something on FB or Pinterest and you literally have NO IDEA where it started. Just do the best you can. It's really all we can do :)
Ok...So here is how I make my quotes. Here we go!

1. Open up Phonto and click the camera at the bottom. Select Plain Image, go to My Templates, and choose one of your templates (or any template there if you haven't made one yet.) If you still need to make your own template, check this post out.

2. Click the box with the arrow at the top right hand side and hit use.

3. Click anywhere on the image to add text.

4. Now you can write whatever you'd like. To change the font, hit the font button. (If you need to learn how to add fonts, check this post out.) Click align to change it to center, left or right.Click done to add the text to the template. I usually do not write it all at once. I just keep clicking the image to add text if I have multiple lines of text. It's easier for me, but do what works for you! :)
6. Keep adding text and changing the font until you've added everything you'd like.

7. To change the size, click the text on the image. A menu will come up. There, you can change the size (you can't just pinch to change it, you need to use the dial on the size menu.) You can tilt the text in the tilt menu.
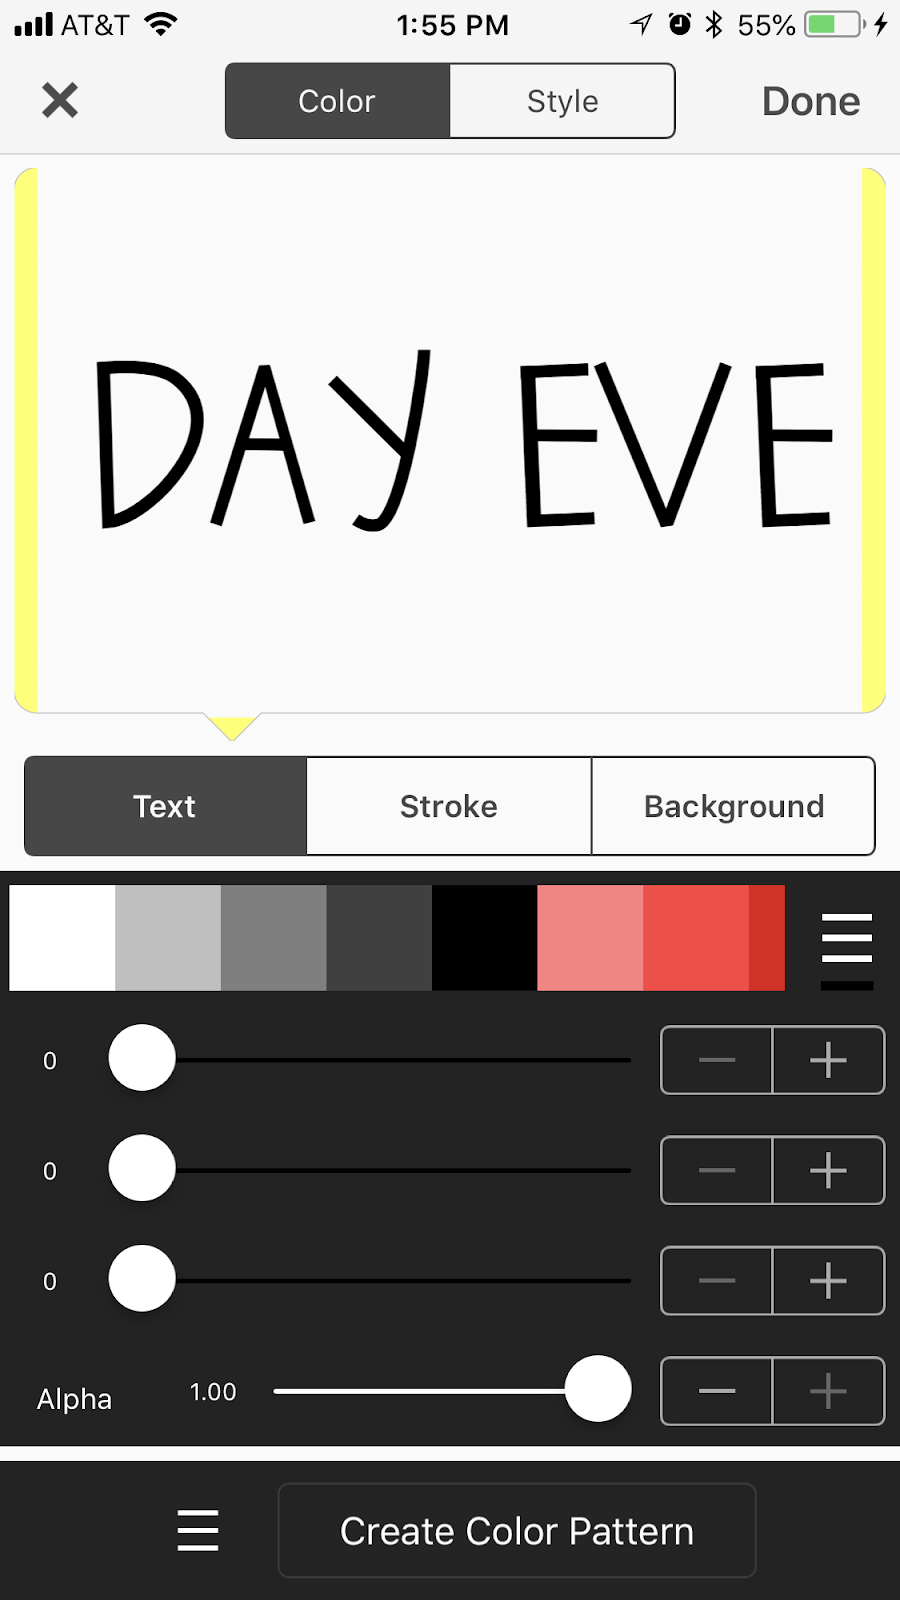
8. In the style menu, at the top it will say COLOR. This is where you can you can create a color pattern (on the bottom), change the stroke (thickness of the outline/color of the outline). I usually change the stroke on my script font to make it a little thicker and more bold. You can add a background color to the font if you'd like under Background. At the top, click STYLE. There you can add a shadow, change the spacing of the lines or letters, or add underlines. Click done after you've played around with it to find what you like best.

9. Now, if you have a watermark or logo saved in your photos that you'd like to add, click the 3 lines in the bottom left hand side. Click add image. Find your image and size it how you'd like it (by clicking it and going to the size menu).

10. Now if you have everything how you'd like it, you can click the square with the arrow at the bottom right hand side and I always save it as a PNG. It will save to your camera roll. Now you can share it!! Yay!
Here is a video if you'd like to see it in action. :)
I know. That's a lot. It goes much faster as you play around with Phonto and see what works for you. It will take me about 20 seconds to create my graphics now. I love using Phonto because you can create it exactly as you'd like it. I used to use Word Swag, and that one is awesome too. I just like how you can customize it with your fonts and style in Phonto.
I'd love to know if you have used this to help you with your graphics! If you do, feel free to tag me @learningandlovingit on Instagram of Facebook! I'd love to see your creations!
Please let me know if you have questions! Have a fab day!


Comments
Post a Comment